My 10-Year Screen Recording Journey on Mac
From Filmora to ZoomShot — How I Finally Stopped Post-Editing

I've been recording IT lectures on Mac for over 10 years. Thousands of videos. Hundreds of courses. Every day, I sit down, hit record, and teach programming to students watching online. Over a decade, I've tried nearly every screen recording and editing tool out there. This is the story of that journey — the problems I faced, the tools I tried, and how I finally found a workflow that eliminated post-editing entirely.
Problem #1: Too Many Chapters, Too Much Editing
When you record IT lectures, the content naturally breaks into many small chapters. A single course might have 50, 80, or even 100+ short videos. Each one needs to be recorded, edited, and exported. Multiply that across multiple courses, and you're looking at a staggering amount of editing time.
The biggest time sink? Silence. Between sentences, while thinking, while switching tabs — there are natural pauses everywhere. Manually cutting out silence from each recording was eating hours of my day. I needed a way to minimize editing time without sacrificing quality.
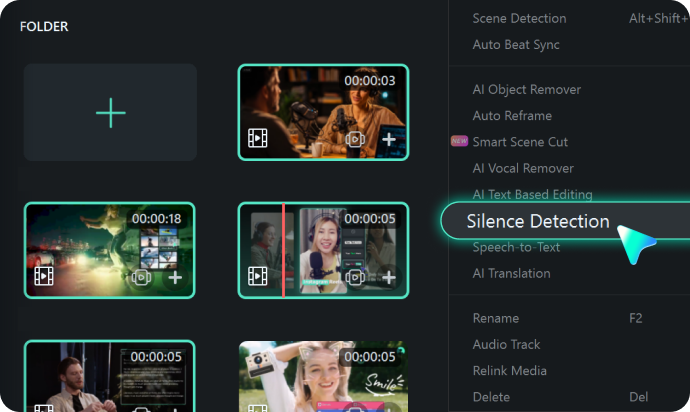
The Savior: Filmora's Silence Removal
That's when I discovered Wondershare Filmora's silence detection feature. It was a game-changer. Filmora can automatically scan a recording, detect silent segments, and remove them in one click. What used to take 30+ minutes of manual editing per video now took seconds.
With Filmora handling the silence removal, I could focus on recording naturally. Pause as long as I need, think through complex explanations, and know that the dead air would be cleaned up automatically. This alone saved me hours every single week.
Filmora solved my first problem beautifully. But my second problem was much harder.
Problem #2: I Need Zoom and Drawing — Together
When you teach programming, you constantly need to:
- Zoom in to small text, code snippets, or tiny UI buttons so viewers can actually read them
- Draw on screen — circle something, underline a line of code, point at a menu item
These two actions happen dozens of times per recording. And here's the painful truth: on Mac, there was no single tool that did both.
Mac's Built-in Zoom Doesn't Record
macOS has a built-in accessibility zoom feature (Ctrl+Scroll). It works great for personal use. But here's the catch: it doesn't get captured by screen recorders. When you zoom in using the accessibility zoom, the recording still shows the screen at 1x magnification. It's completely invisible to viewers.
I spent years wishing Apple would fix this. They never did. The built-in zoom is for the user's eyes only — it doesn't affect the actual screen buffer that recorders capture.
Drawing Required a Separate App
For on-screen drawing, I used DemoPro. It let me draw circles, arrows, and annotations on top of my screen during recording. It worked, but it was a completely separate tool from my zoom workflow. I had to switch contexts constantly: recording → drawing app → back to recording.
And zoom? Still no solution. I was stuck adding zoom effects in post-production, one keyframe at a time. For a 10-minute video with 15 zoom moments, that's another 20+ minutes of editing just for zoom.
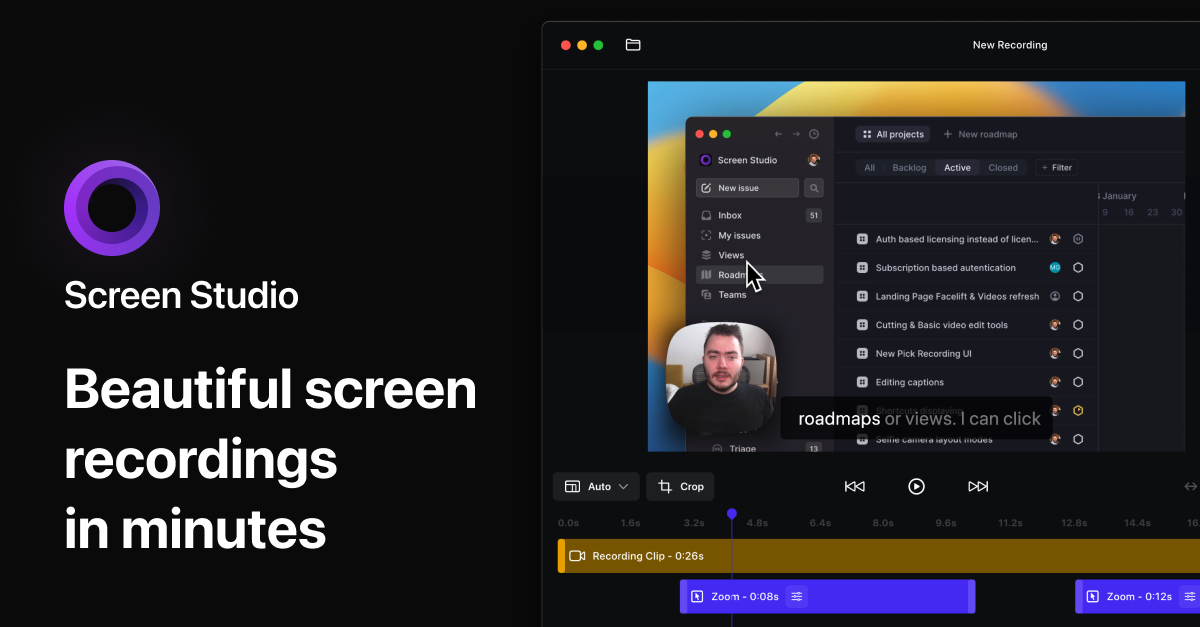
Trying ScreenStudio: Beautiful, But Auto-Zoom Is a Trap
Then I heard about ScreenStudio. It's a beautifully designed Mac screen recording tool that automatically adds zoom effects to your recordings. The marketing looked incredible — smooth, professional zoom animations that follow your cursor.
I tried it with high expectations. The concept was exciting: it detects mouse clicks and automatically zooms to where you click. No manual work needed.
But in practice, auto-zoom was a disaster for my workflow. Here's why:
- It zooms on every click. When I'm clicking through menus, tabs, and code — the screen is constantly zooming and panning. For viewers, it's nauseating.
- You can't control when it zooms. I want to zoom only when there's something small or important to highlight. Auto-zoom doesn't understand intent — it just follows clicks blindly.
- The motion is unpredictable. Viewers lose their spatial awareness. They can't tell where they are on the screen because the view keeps shifting.
- No drawing support. ScreenStudio focuses on post-production effects, not live annotation.
ScreenStudio is a great tool for short product demos and social media clips. But for 10-minute+ educational content with rapid interaction? The auto-zoom made my videos worse, not better.
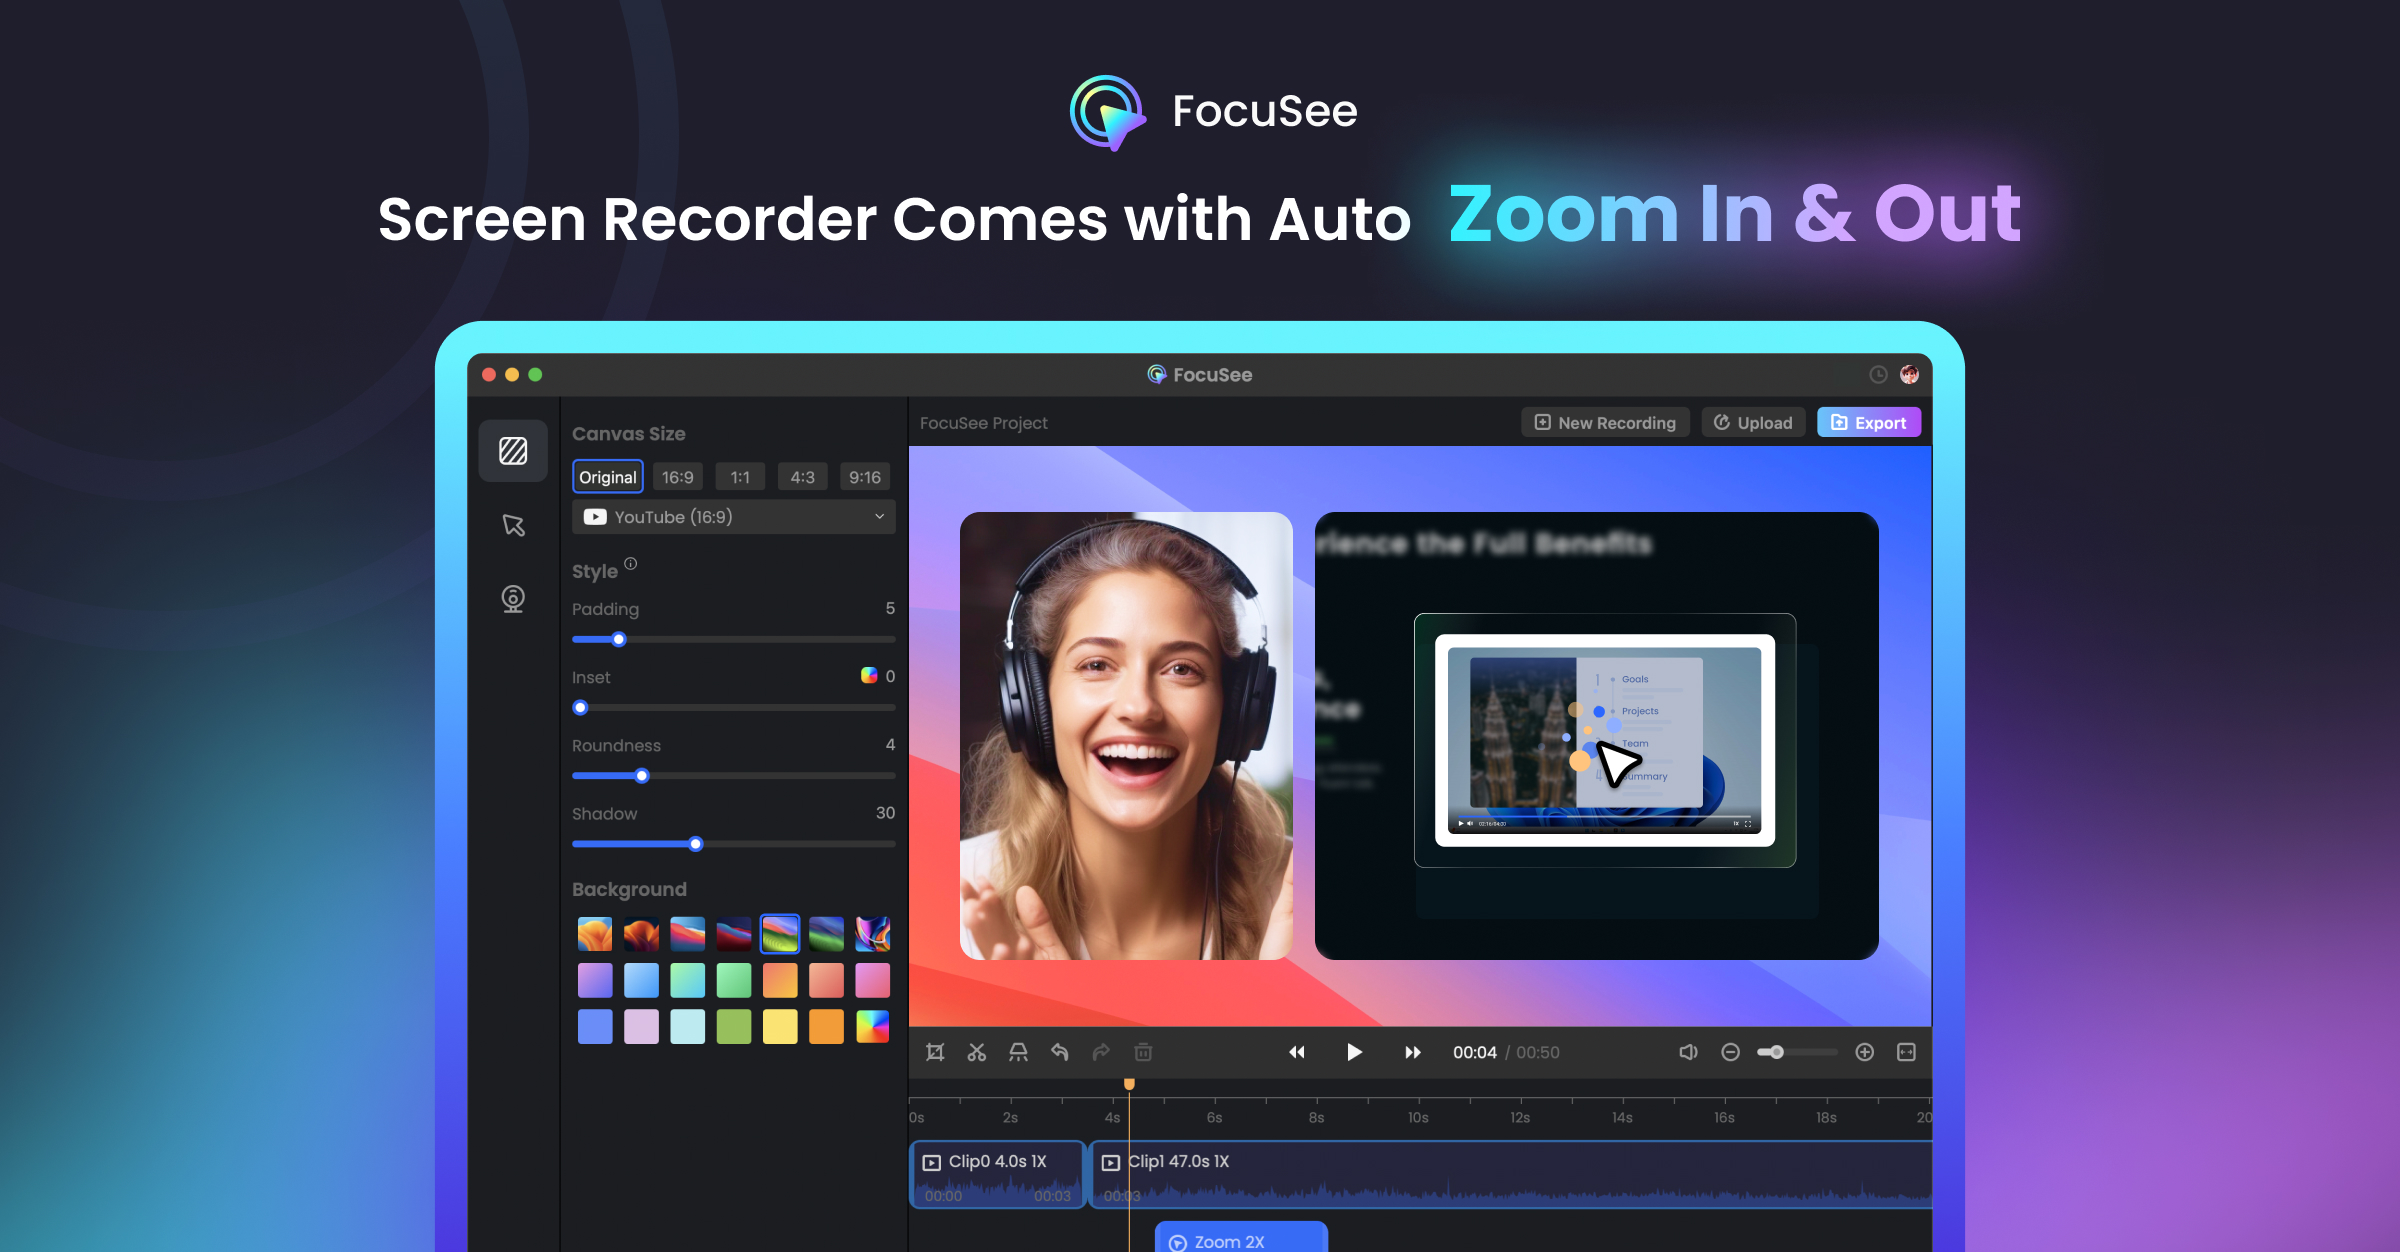
Trying FocuSee: Same Auto-Zoom Problem
Next, I tried FocuSee (by Gemoo/iMobie). Same concept — automatic zoom effects triggered by mouse clicks. Same polished marketing. Same promise of effortless zoom.
And the same fundamental problem: auto-zoom can't read your mind. It doesn't know when a zoom would help and when it would hurt. It just reacts to clicks. For long-form educational content where you're clicking constantly, this creates a dizzying experience for viewers.
After trying both ScreenStudio and FocuSee, I came to a clear conclusion:
Auto-zoom is fundamentally wrong for educational screen recording. The creator — not the software — should decide when and where to zoom.
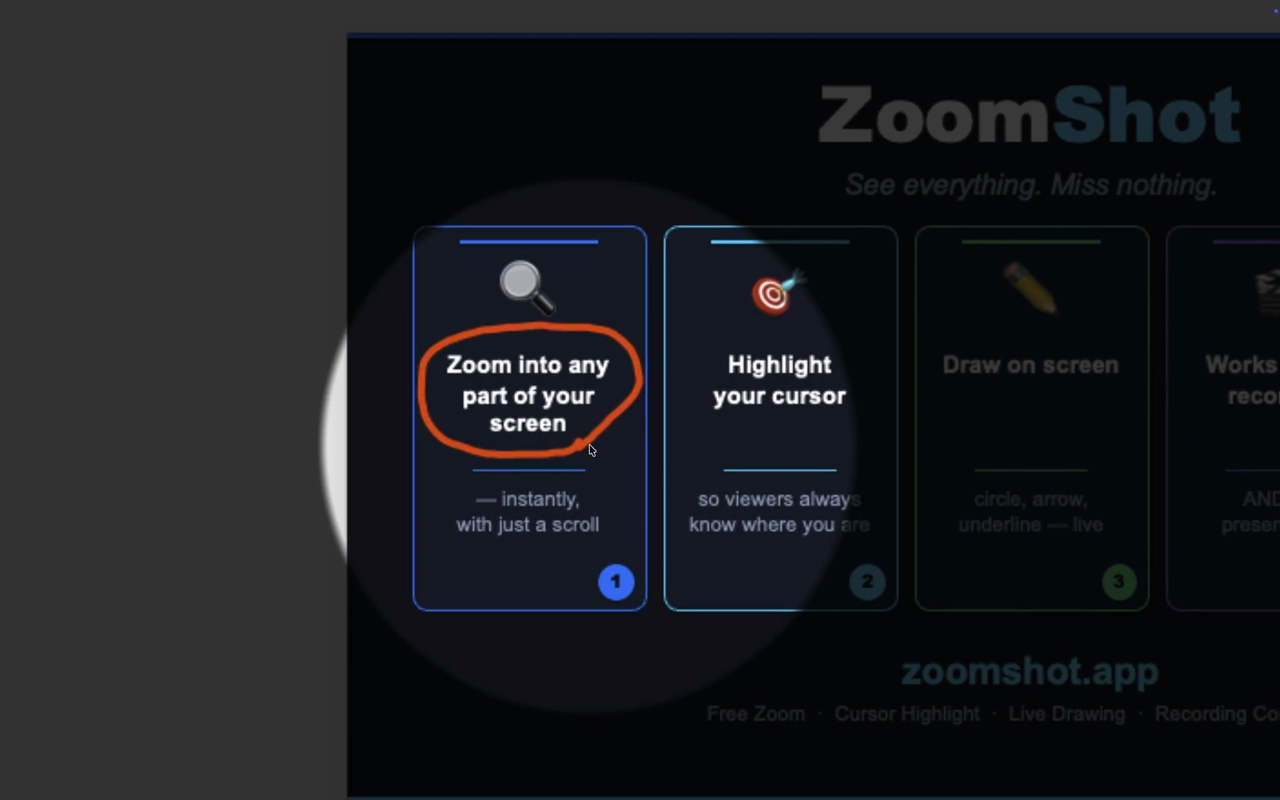
Finding ZoomShot: Manual Zoom That Actually Records
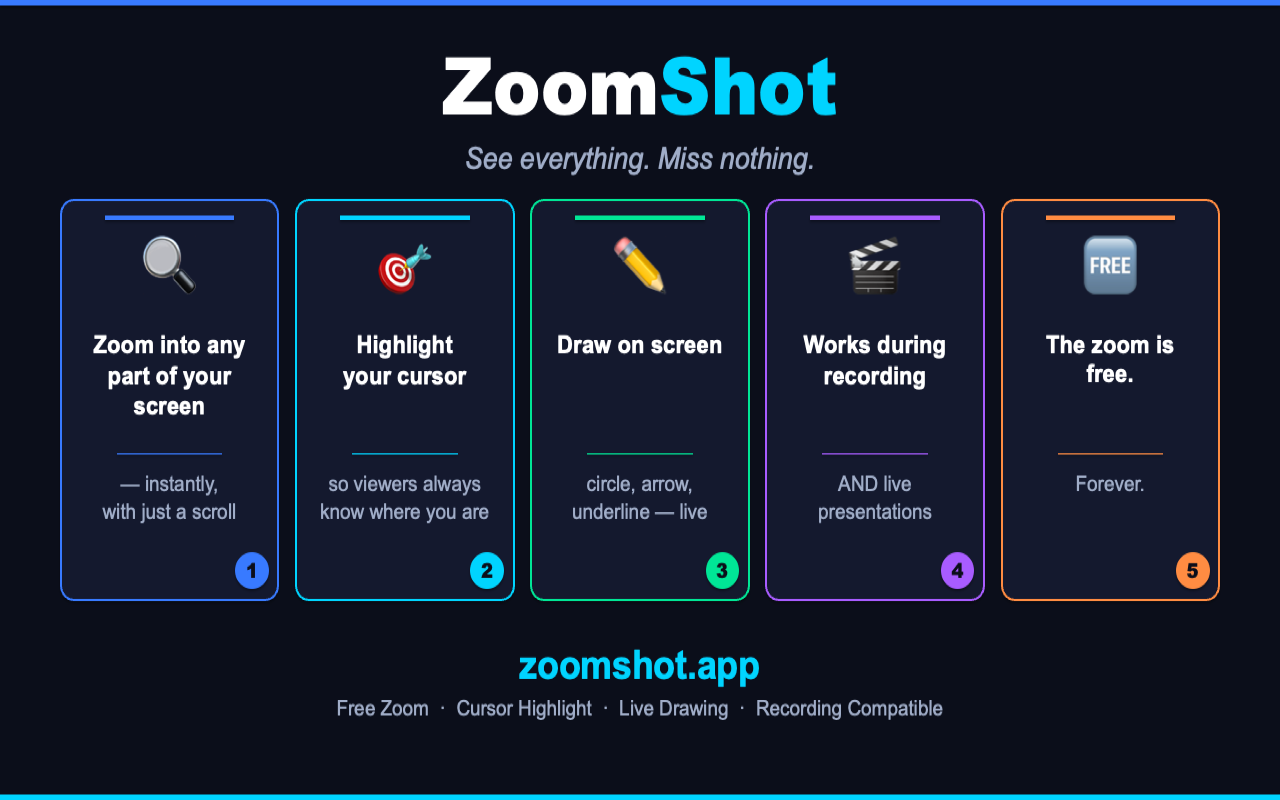
This is why I built ZoomShot. Not because I wanted to make another screen recording tool, but because I needed something that simply didn't exist:
- Manual zoom that I control — zoom when I choose, stay still when I choose
- The zoom actually gets recorded — unlike macOS built-in zoom
- Drawing on screen — no separate app needed
- Focus spotlight — dim everything except where I'm pointing
- All three work together — with a single shortcut key
How ZoomShot Works
The concept is dead simple:
Hold the shortcut key (default Ctrl+A, fully customizable), then:
- Scroll to zoom in and out — smooth, precise, manual control
- Drag to draw on screen — freehand, lines, rectangles, circles
- Focus spotlight appears automatically around your cursor
Release the key, and everything returns to normal. That's it.
The critical difference from macOS built-in zoom: ZoomShot works at the screen rendering level using Metal GPU. What you see on screen — zoom, drawing, focus — is exactly what any screen recorder captures. OBS, Filmora, QuickTime, Zoom meetings, Google Meet, whatever you're using to record or stream. It all just works.
My Workflow Now: Zero Post-Editing for Zoom
Here's what my recording workflow looks like today:
- Record with ZoomShot running. I zoom, draw, and highlight live during recording. Everything is captured in real-time.
- Import into Filmora. Run silence detection to strip out dead air.
- Export. Done.
That's it. No more zoom keyframes in post. No more switching to a drawing app. No more wishing the built-in zoom would record. No more fighting with auto-zoom that zooms when I don't want it to.
For a 10-minute tutorial, I used to spend 20-30 minutes on post-production zoom effects alone. Now I spend zero minutes. The zoom happens live, and it's exactly where I want it.
Why Manual Zoom Beats Auto-Zoom
Let me be clear: I don't think auto-zoom tools like ScreenStudio or FocuSee are bad products. They're excellent for specific use cases — short product demos, social media clips, marketing videos. For those, the auto-zoom magic is genuinely impressive.
But for long-form educational content — coding tutorials, IT lectures, software walkthroughs — manual zoom is objectively better:
- You decide the timing. Zoom in only when there's something worth zooming.
- Viewers stay oriented. The screen doesn't jump around unpredictably.
- It's captured live. No post-editing. What you see is what you get.
- Drawing + Focus work simultaneously. Annotate while zoomed, with a spotlight. All in one shortcut.
ZoomShot Keeps Getting Better
Because I use ZoomShot every single day for my own recordings, I'm constantly improving it. Every bug I encounter gets fixed immediately. Every "I wish it could do this" moment becomes a feature. Recent additions include:
- Up to 120 FPS rendering for the smoothest zoom experience
- Focus impact animation with adjustable intensity
- Customizable shortcut modes — combined key or separate keys for zoom/draw/focus
- Line width from 1px to 24px for precise annotation
- Multi-display support with automatic screen switching
This isn't a tool built by a company that doesn't use it. It's built by someone who records every single day and needs it to be perfect.
Try It Yourself
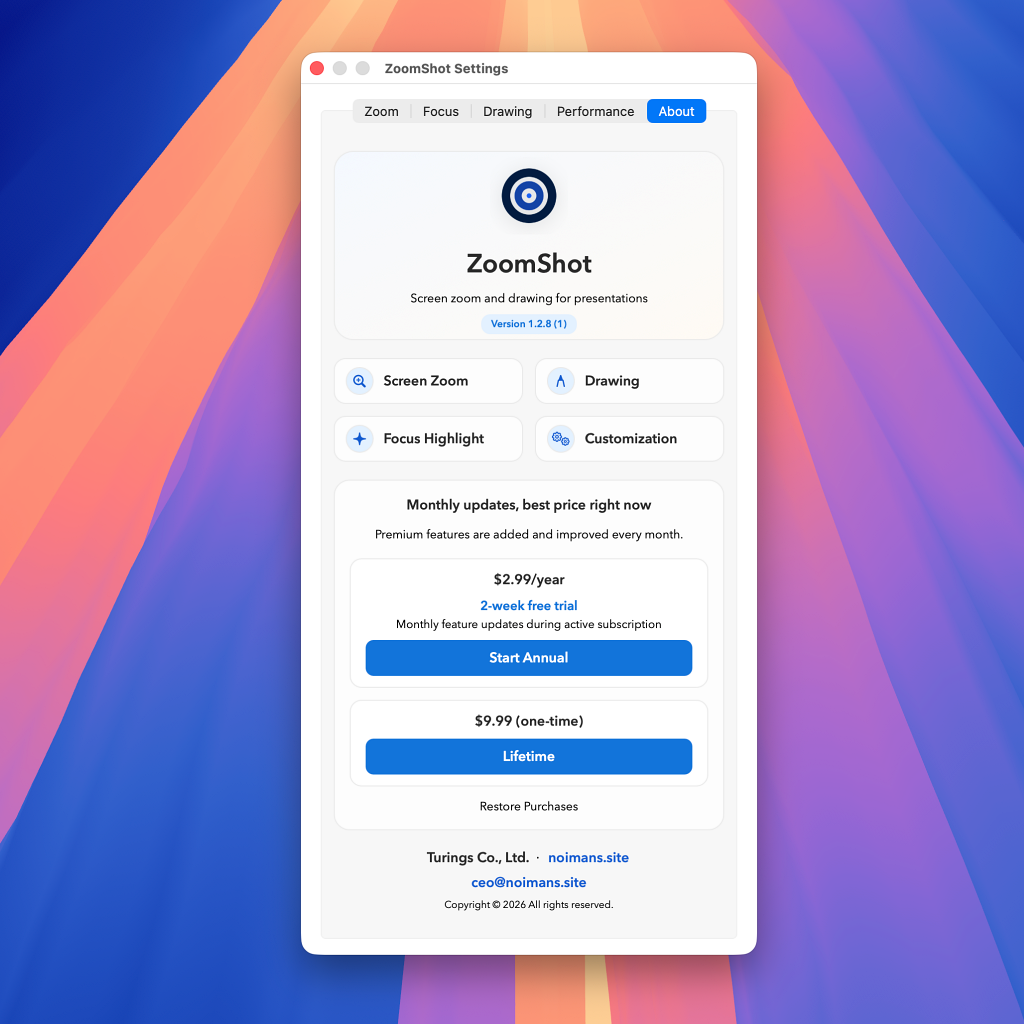
If you record tutorials, lectures, presentations, or demos on Mac — give ZoomShot a try. The screen zoom is completely free with no limits. Premium features (focus spotlight and drawing) come with a 2-week free trial.
After 10 years of searching, this is the tool I wish I had from day one.
Download ZoomShot Free
Screen zoom is free forever. Focus and drawing come with a 2-week free trial.
Download on Mac App StoreRequires macOS 13.0 (Ventura) or later