Why I Built ZoomShot
Born from 10 Years of Screen Recording
For over 10 years, I've been recording tutorials, coding lectures, and presentations. Every single day, I'd use screen recording tools to teach programming to thousands of students. And every single day, I ran into the same frustrations.
The Problem: Three Tools, Zero Integration
When you record screen content for education or presentations, there are three things you constantly need:
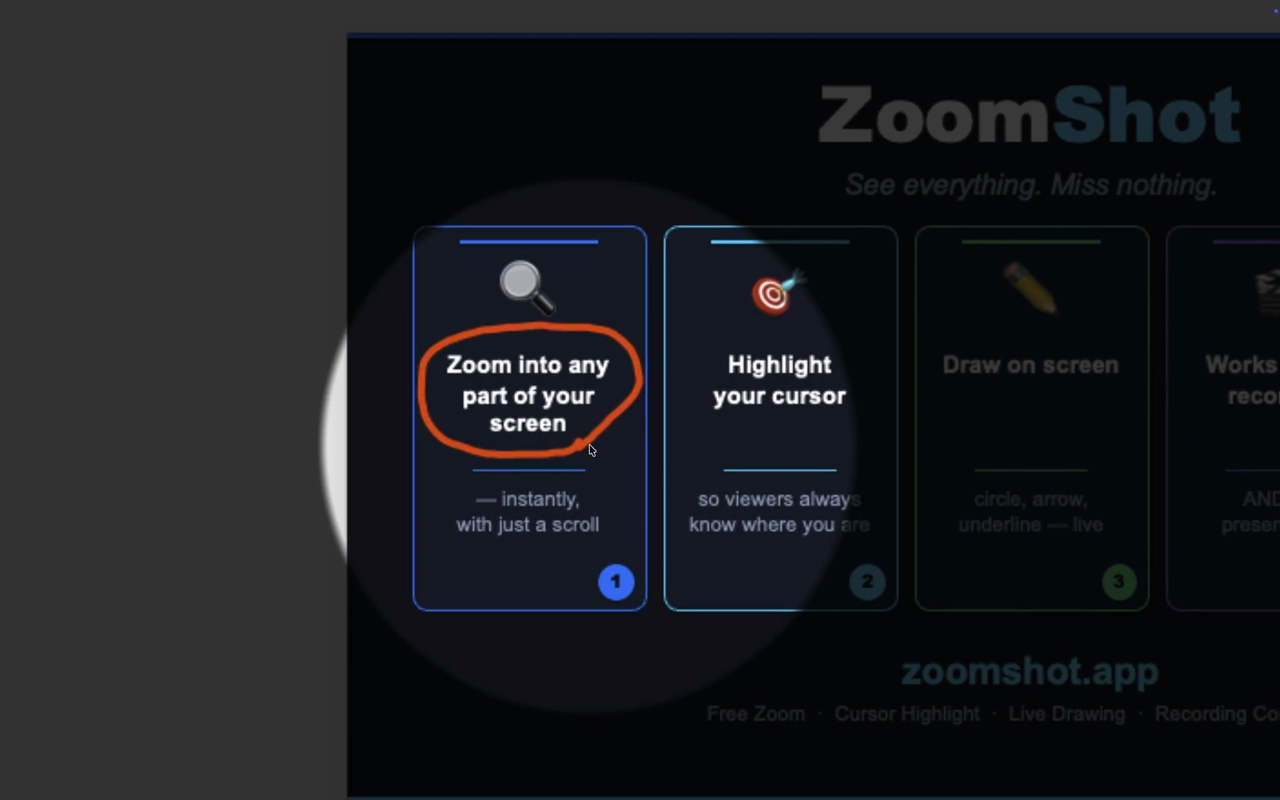
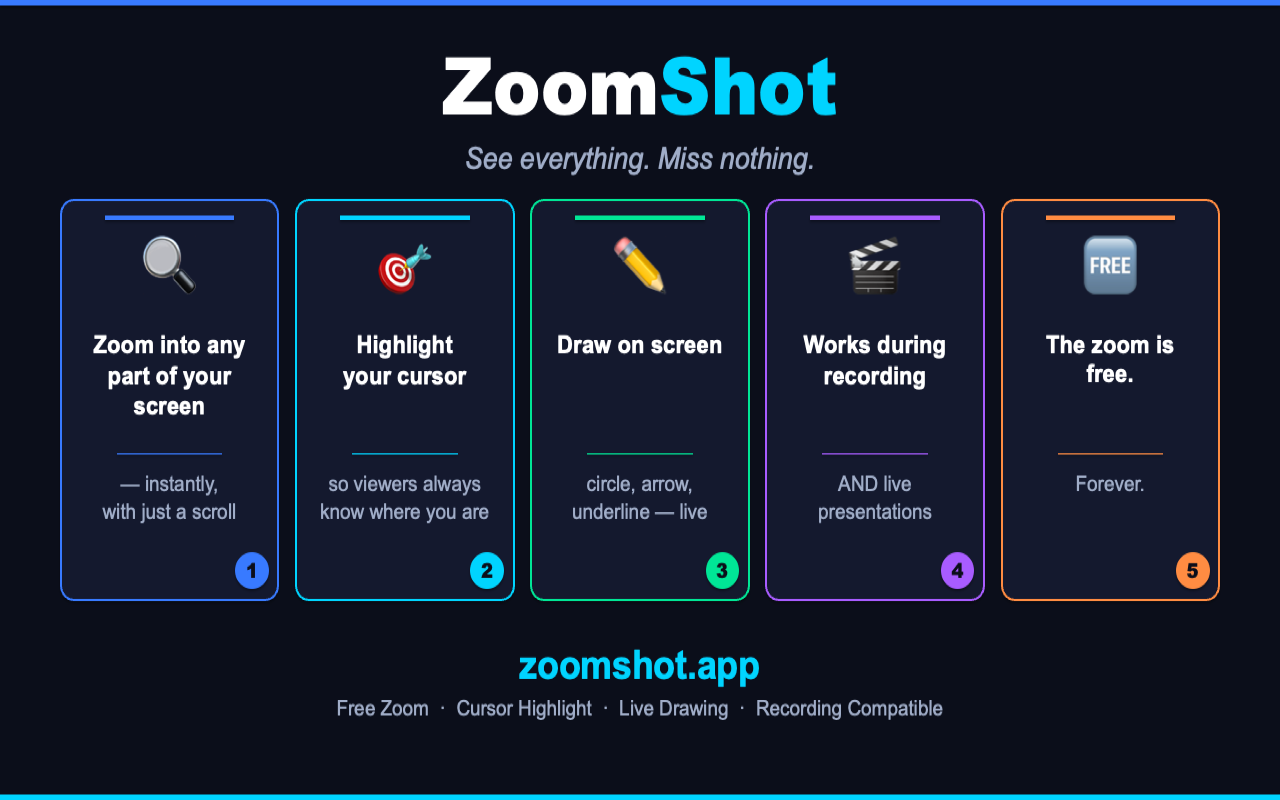
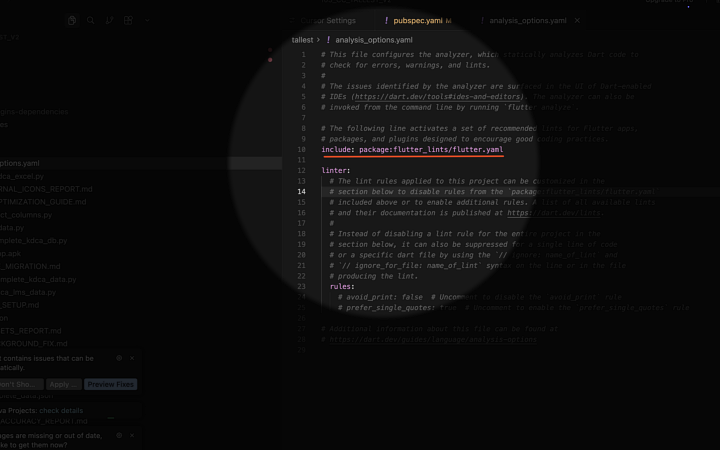
- Zoom — to magnify small text, UI elements, or code snippets so viewers can actually read them
- Drawing — to annotate, circle, underline, or point at things on screen in real time
- Focus — to dim everything except where your cursor is, guiding the viewer's attention
Before ZoomShot, here's what my workflow looked like:
- Zoom was a post-production task. I'd record everything at 1x, then go into a video editor to add zoom keyframes. A 30-minute tutorial could take another hour just to add zoom effects.
- Drawing required a separate app. I'd switch to a drawing overlay app, draw something, switch back. The context-switching killed my flow.
- Focus highlights were almost nonexistent. Some tools offered "auto-zoom" that followed the cursor, but that caused motion sickness for viewers because it zoomed and panned constantly without control.
The worst part? None of these tools talked to each other. I wanted to zoom in, draw a circle around something, and have a focus spotlight — all at the same time, all captured in the recording. That simply wasn't possible.
The "Auto-Zoom" Trap
Some existing tools offer "auto-zoom" — the screen automatically follows your cursor and zooms to wherever you point. Sounds great in theory. In practice, it's a disaster for viewers.
Auto-zoom creates constant, unpredictable camera movement. Viewers get disoriented. They lose track of where they are on the screen. It's like watching a video filmed by someone who can't hold the camera still.
What I needed was intentional zoom. I zoom when I choose to. The screen stays still when I want it still. The viewer always knows exactly what's happening.
So I Built ZoomShot
ZoomShot is built on a simple principle: one shortcut does everything, and what you see is what gets recorded.
Hold the shortcut key (default Ctrl+A, fully customizable), then:
- Scroll to zoom in and out
- Drag to draw on screen
- The focus spotlight appears automatically around your cursor
Release the shortcut key, and everything returns to normal. It's that simple. And the zoomed/drawn/focused view is exactly what any screen recorder captures — no post-editing needed.
Three Core Features, One Shortcut
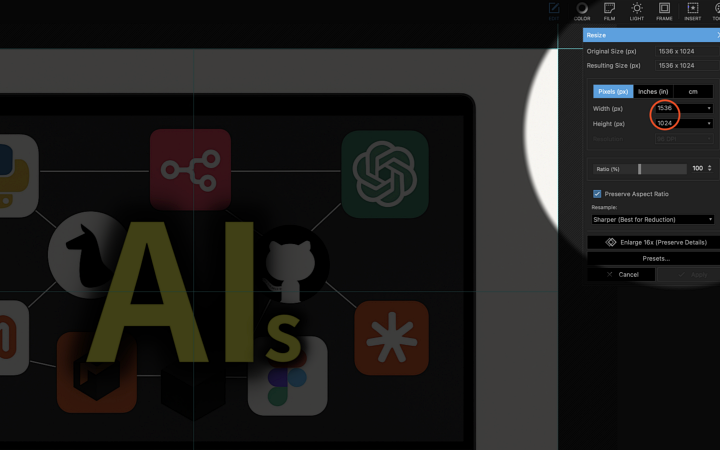
1. Real-time Screen Zoom (Free)
The zoom feature is completely free. Hold the shortcut and scroll to zoom into any part of the screen with smooth animation. The zoomed view follows your mouse and works across all apps.
Here's how much control you get:
- Wheel Step: 9 sensitivity levels from Standard to Insane
- Max Scale: 2.0x, 2.5x, 3.0x, or 4.0x magnification
- Smooth Transition: Toggle smooth easeInOutCubic animation on/off
- Sampling: Choose between Smooth (interpolated) or Crisp (sharp pixels)
- Wheel Session Batching: Groups rapid scroll inputs to prevent over-zooming
2. Focus Highlight (Premium)
Enable focus in settings, and when the shortcut is active, the area around your cursor stays bright like a spotlight while the rest of the screen dims. It's the best way to guide your audience's attention.
- Size: Small, Medium, or Large spotlight area
- Shape: Rectangle or Circle
- Background Dim: Low (35%), Medium (55%), or High (75%)
- Border Softness: Sharp, Medium, or Soft edges
3. Screen Drawing (Premium)
Hold the shortcut and drag to draw directly on screen. Drawings persist while zoomed and are captured in the recording exactly as they appear.
- 4 Drawing Modes: Freehand, Line, Rectangle, Circle
- Color: Unlimited custom color picker
- Line Width: 2px, 4px, 6px, 8px, or 12px
- End Animation: 0.1s to 2.0s fade-out
- Clear: Cmd+Z to instantly erase everything
Built for Performance
ZoomShot uses Metal GPU rendering on macOS. The entire zoom, focus, and drawing pipeline runs on the GPU, keeping CPU usage minimal. You can choose between:
- FPS Priority Mode — up to 60 FPS for the smoothest experience
- Power Saver Mode — up to 30 FPS to minimize battery drain and heat
It also supports multi-display setups. ZoomShot works on all connected displays including external monitors, with automatic screen switching as you move your cursor.
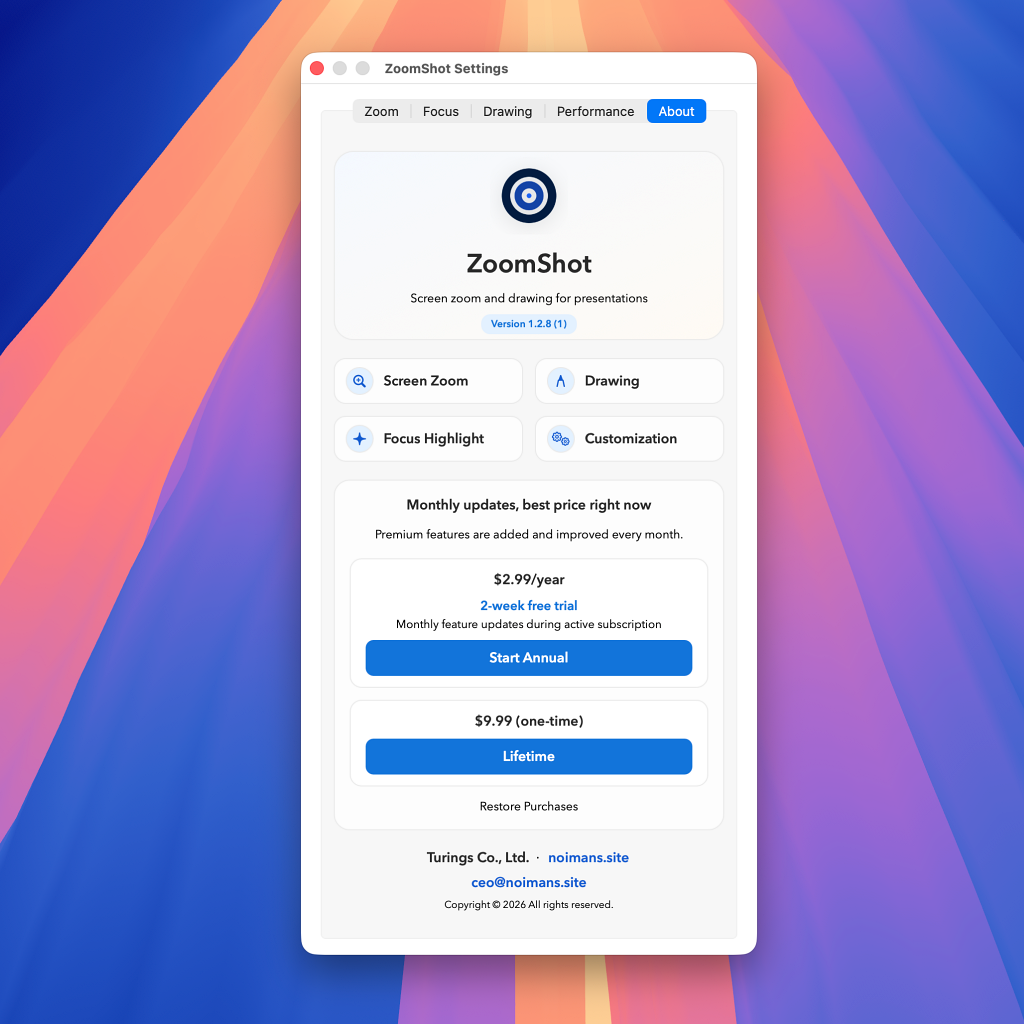
Free vs. Premium
Screen zoom is completely free with all settings — sensitivity, max scale, smooth transitions, sampling, and wheel step. No limits, no trial.
Premium unlocks Focus Highlight and Screen Drawing:
- Annual: $2.99/year with a 2-week free trial
- Lifetime: $9.99 one-time purchase, updates included forever
I Use It Every Day
This isn't a tool I built and handed off. I use ZoomShot every single day for my own recordings and lectures. When I hit a bug, I fix it the same day. When something feels slightly off, I tweak the settings or add an option.
That's the advantage of being both the developer and a power user. Every improvement comes from real daily use, not theoretical feature requests.
If you record tutorials, present to clients, demo software, or teach online — ZoomShot was built for you, by someone who does exactly the same thing every day.
Try ZoomShot Free
Screen zoom is free forever. Premium features come with a 2-week free trial.
Download on Mac App StoreRequires macOS 13.0 (Ventura) or later